





Polylang is one of the cleanest multilingual plugins for WordPress. Each translation is a real post linked to its source through a translation group, which makes AI translation simpler than serialized models. This guide covers what Polylang gives you out of the box, where Polylang Pro's DeepL integration fits and how to use AutoPoly for six AI providers and proper bulk translation.
What Polylang gives you out of the box
The free version of Polylang on WordPress.org handles the multilingual structure cleanly. Languages, language switcher, hreflang annotations, and the per-language post relationships all work without paying anything. For most blogs and marketing sites this is enough to get a real multilingual setup going.
Polylang Pro adds the features serious projects usually need: slug translation, deeper custom post type support, an Elementor integration and, most relevant for this guide, a built-in DeepL integration for bulk translation. If your target languages are mostly European (German, French, Spanish, Italian, Dutch, Portuguese), Polylang Pro's DeepL bulk translation alone can cover a respectable chunk of multilingual work.

Where the built-in option stops being enough
Polylang Pro's DeepL integration is genuinely useful, but DeepL has limits people run into fast:
- Language coverage is mostly European. Languages like Hindi, Tamil, Korean, Arabic or Vietnamese either are not supported or get weaker output.
- You are locked into a single provider. No fallback if DeepL is rate limited or you want to compare quality against OpenAI or Gemini.
- No free path. DeepL needs a paid API key. There is no in-browser or free-tier option.
- No support for Chrome built-in AI, Yandex or Google Translate, which are all free routes that make sense for non-critical pages.
That is the gap an AI translation addon fills. The most-supported one for Polylang is AutoPoly.
AutoPoly: six AI providers in one addon
AutoPoly is an addon that sits next to Polylang and adds bulk AI translation across multiple providers. You pick the one that fits the workload, paste an API key (or skip the key entirely for free providers), open Pages or Posts and click bulk translate. AutoPoly supports six AI options:
- OpenAI for marketing copy, editorial work and brand-sensitive content. GPT-4o is the recommended model.
- Gemini for high-volume sites. Gemini Flash is roughly 10× cheaper than OpenAI for similar quality on most language pairs.
- DeepL for European languages. Still the quality leader on the FR / DE / ES / IT / NL / PT axis.
- Google Translate for fast first-pass translation. No API key required. Good for staging and bulk drafts.
- Yandex Translate for Russian, Ukrainian and Eastern European languages where Yandex outperforms Google.
- Chrome built-in AI for completely free in-browser translation. No API key, no provider account, runs locally in Chrome.
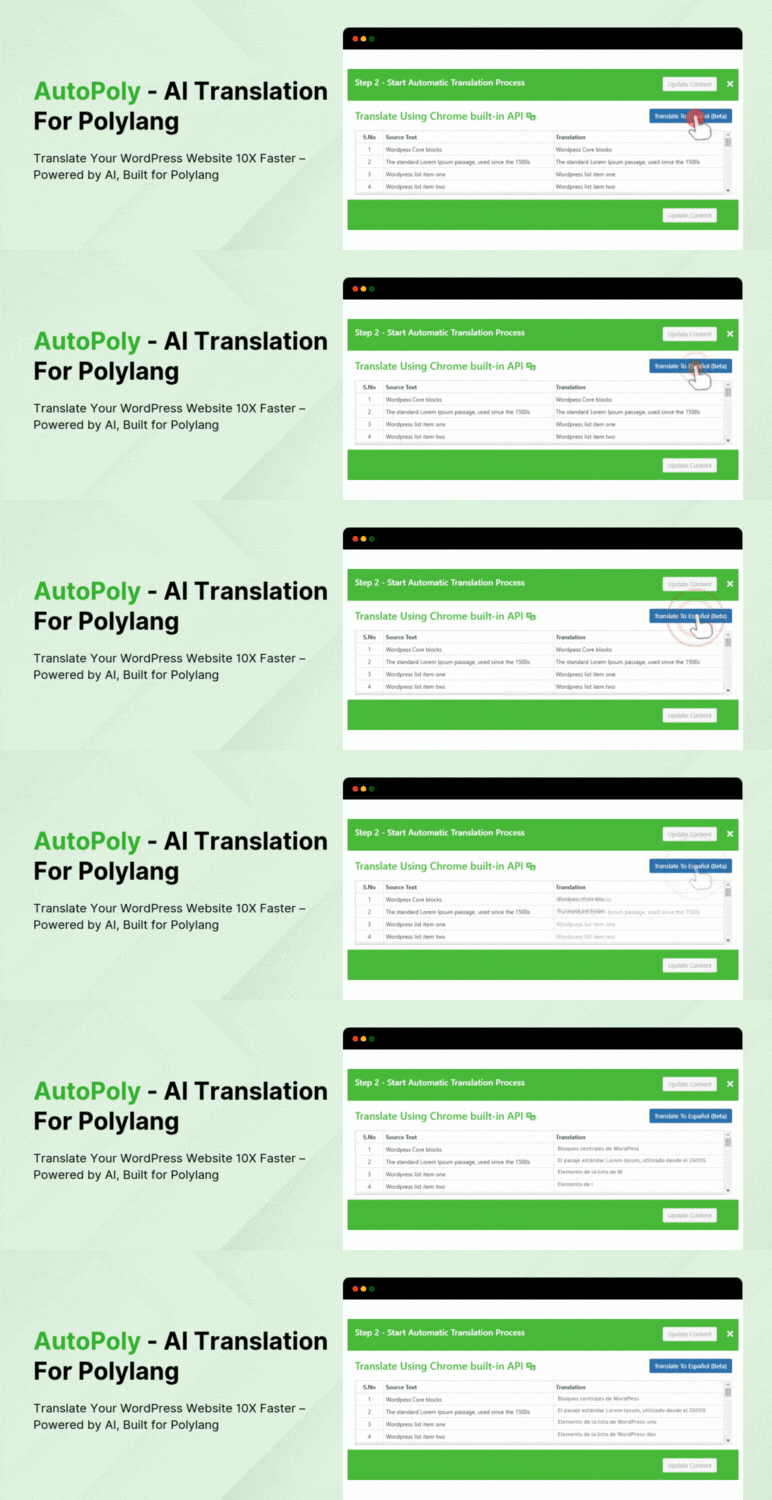
AutoPoly also has a free version on WordPress.org that ships with Yandex and Chrome AI. Useful if you want to test the workflow before buying. The premium version unlocks OpenAI, Gemini, DeepL and Google Translate plus the full bulk translation interface.
Bring your own OpenAI, Gemini or DeepL key, or use free Yandex and Chrome AI. Bulk-translate Polylang sites in minutes.
Step by step: bulk translate a Polylang site with AutoPoly
Full setup is about ten minutes the first time. After that every translation job is a few clicks from the standard Pages or Posts screen.
Step 1. Install Polylang and configure languages
Install Polylang (free or Pro) and add your target languages under Languages in the WordPress admin. Pick the locale, language code and URL slug for each. Polylang generates the multilingual structure automatically based on your permalink settings.
Step 2. Install AutoPoly alongside Polylang
Install AutoPoly on the same site and activate it. AutoPoly detects Polylang automatically and adds its own settings page plus a bulk action to your Pages and Posts screens.
Step 3. Pick a provider and connect your key
Open the AutoPoly settings page and pick a provider from the dropdown:
- Paid providers (need API key): OpenAI, Gemini, DeepL
- Free providers (no key required): Google Translate, Yandex Translate, Chrome built-in AI
If you go with OpenAI, sign up at platform.openai.com/api-keys and create a key. For Gemini, visit aistudio.google.com/apikey. For DeepL, sign up at deepl.com/pro-api and grab an authentication key. Paste it into AutoPoly settings and save. The connection is tested automatically.
Step 4. Open Pages or Posts in your WordPress admin
Go to Pages or Posts. AutoPoly adds language status indicators next to each item, so you can see at a glance which posts already have translations and which still need them.
Step 5. Select the items to translate
Tick the checkboxes next to the posts or pages you want, or use the "Select all" checkbox at the top to grab everything on the screen. For larger sites, filter by category, author or date first and translate in smaller batches.
Step 6. Pick a target language and click Bulk Translate
Choose a single target language or "All languages" from the bulk action dropdown, then click Bulk Translate. AutoPoly queues the jobs and sends them to your chosen AI provider in the background. You can close the tab and come back. Failed requests retry automatically. The Polylang bulk translation guide covers the queue interface and rate-limit handling in more depth.
Picking the right AutoPoly provider
Quick framework for choosing between the six options:
- OpenAI when tone matters. Marketing pages, brand-facing content, anything a real human will read carefully.
- Gemini when volume matters. Hundreds of posts or thousands of products where every fraction of a cent counts.
- DeepL for European language pairs. If you are translating into French, German, Spanish, Italian, Dutch or Portuguese, DeepL still has the edge on idiomatic phrasing.
- Google Translate for first-pass drafts and staging environments. Free, no setup.
- Yandex Translate for Russian and Eastern European languages. Often noticeably better than Google for those specifically.
- Chrome built-in AI for completely free in-browser translation. No API key, nothing leaves your machine. Great for privacy-sensitive content or staging.
Most sites end up using two providers in practice. One free or cheap option for the bulk first pass, then one premium option (OpenAI or DeepL) for the homepage, key landing pages and top product pages.
Other useful Polylang companion plugins
A few other plugins worth knowing about when running a Polylang site:
- Polylang Duplicate Content Addon: free addon for copying content from the base language into other languages without translating. Useful when you want all language versions of a post to exist with identical content as a placeholder, ready for manual translation later.
- Connect Polylang for Elementor: free addon that improves Polylang's compatibility with Elementor. Particularly useful for adding a language switcher inside Elementor templates and translating Elementor headers, footers and templates cleanly.
- AutoPoly free version: the free WordPress.org edition of AutoPoly. Ships with Yandex and Chrome AI for zero-cost translation. Premium upgrade adds OpenAI, Gemini, DeepL and Google Translate.
Special cases that trip people up
Elementor and Divi page builders
Elementor and Divi store content in serialized meta, which causes problems for naive AI translation tools. AutoPoly parses the builder data and only translates the actual text content, preserving widget attributes, styling and structure. See the Elementor + Polylang guide or the Divi + Polylang guide for builder-specific notes.
Categories and tags
Taxonomies are a separate thing from posts. Polylang treats them as their own translatable entities. AutoPoly has a dedicated panel for taxonomy translation that handles names, descriptions and parent-child relationships. Run it after your post translation pass. Full details in the categories and tags translation guide.
ACF and custom fields
ACF fields need to be marked as translatable first. The easiest way is ACFML if you have Polylang Pro, or ACF's built-in "Translate Field" setting on each field group. Once registered, AutoPoly picks them up automatically during bulk translation.
SEO best practices with Polylang and AI
- Translate slugs. Polylang Pro feature. Without it, URLs are not truly multilingual for SEO purposes.
- Translate Yoast or Rank Math meta. AutoPoly handles SEO plugin fields automatically as part of bulk translation.
- hreflang is automatic. Polylang outputs hreflang annotations correctly once your languages are configured. Nothing to do manually.
- One sitemap per language. Both Yoast and Rank Math support Polylang's language structure for XML sitemaps. Just enable XML sitemap in your SEO plugin.
Performance considerations
Because Polylang stores each translation as a separate post, the wp_posts table grows linearly with languages. Five languages means five times the posts. For most sites this is a non-issue. On a 50,000-post site, talk to a developer about indexing before you flip the switch on bulk translation.
Caching plugins generally play well with Polylang because each language URL is a distinct cache key. No special configuration needed for WP Rocket, W3 Total Cache or LiteSpeed Cache.
What I would do on a new project
For a content or marketing site translating into one or two languages: Polylang free plus AutoPoly, Google Translate for the bulk first pass, then OpenAI on the top-traffic pages. Total cost: AutoPoly license. Total time: an afternoon.
For a WooCommerce store or anything with WP custom post types: Polylang Pro plus Polylang for WooCommerce plus AutoPoly. Use Gemini Flash for products (cheapest premium quality), DeepL for European languages, OpenAI for landing pages. Total cost around $300/year all-in for the multilingual stack.
If you also work with WPML, TranslatePress or Loco Translate sites, the bundle pays for itself on the first project.
Further reading
For a deeper look at the addon ecosystem, the Polylang AI translation addons roundup compares the major options. Wondering how Polylang stacks up against WPML and TranslatePress overall? The three-way comparison covers pricing, workflow and AI options side by side.
 TranslateXYZ preferred on